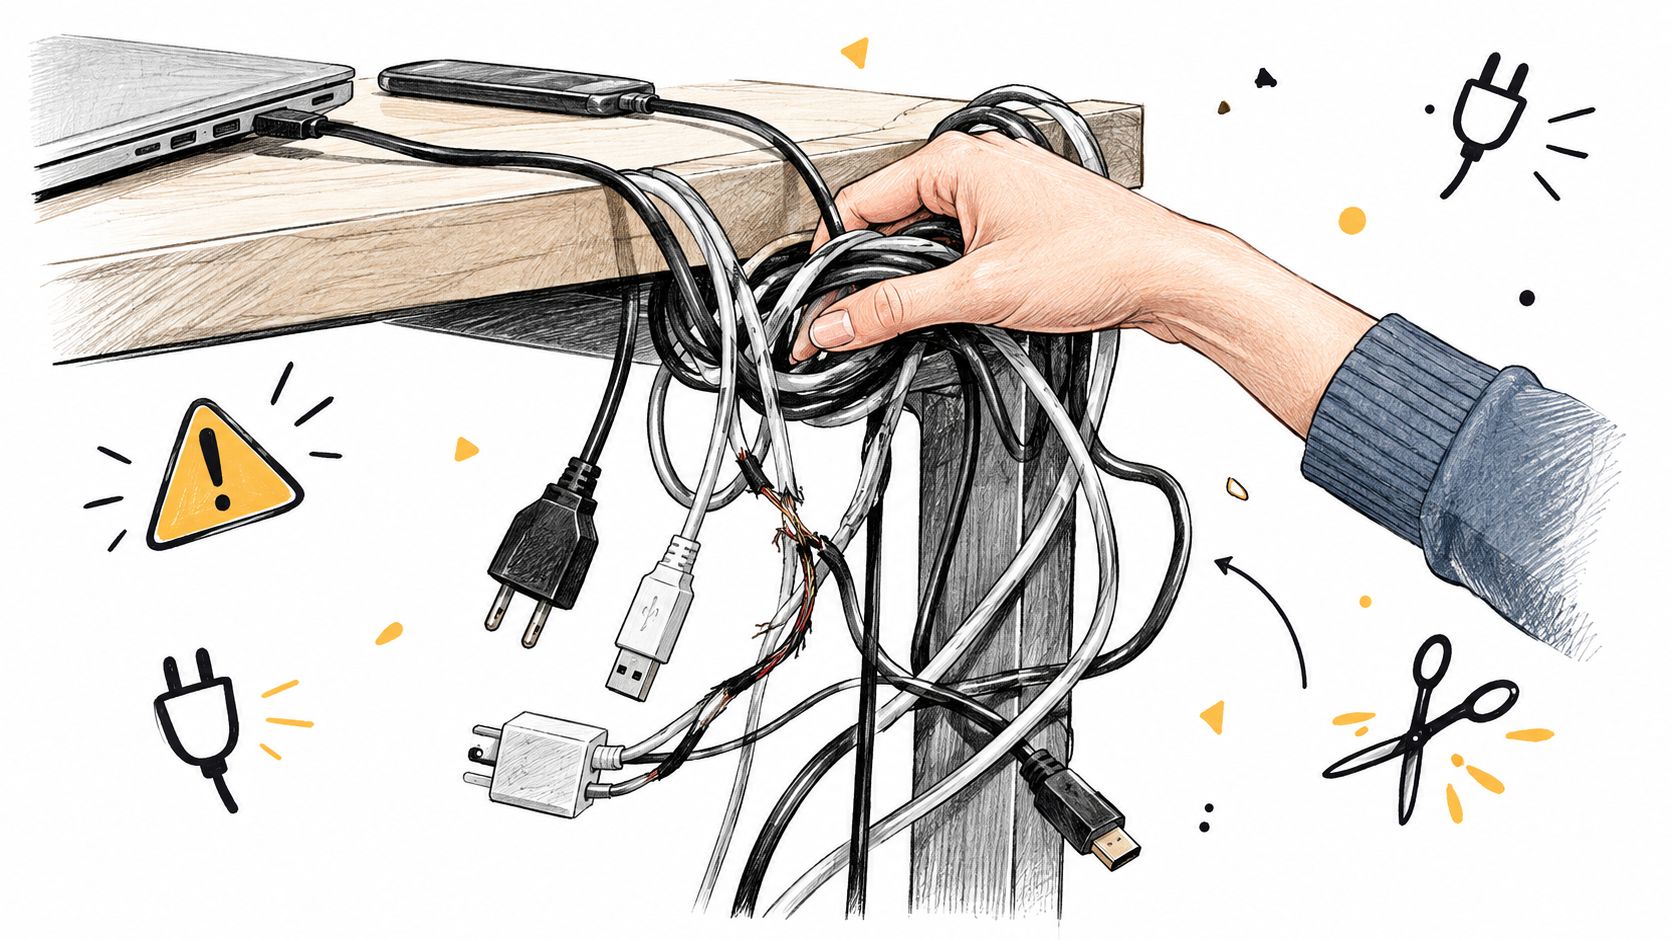
You sit down to work, raise the desk, and hear a connector tug against the back edge. A charging cable drops behind the furniture, the monitor cord hangs near your feet, and the power strip is buried under a pile of adapters. The desk may look manageable from the chair, but every height change, device swap, or cleaning session turns the cable bundle into a small repair project.
Cable management for desks isn't about hiding cords. It's about giving each cable a safe route, enough freedom to move, and enough access to replace or identify it later. That matters even more when a desk supports monitors, docks, speakers, chargers, and other peripherals that move or connect in different directions.
Why Cable Management Matters Beyond a Tidy Look
A sit-stand desk can expose a cable problem only after you start using it. Raise the surface, rotate a monitor, or pull a dock forward, and a route that looked fine at rest may tighten, snag, or drag across the frame. Cable management for desks therefore supports safe movement and easier servicing, not just a cleaner appearance. Poor routing can create trip hazards, wear and tear, and clutter that restricts movement (CMD cable-management guide).
A fixed writing desk can often use one predictable route from the wall to a power strip. A standing desk needs a moving route. Its top, monitor arms, docking equipment, and accessories may rise together, while wall and floor connections remain still. The cable path needs controlled slack, separation between moving and fixed sections, and attachment points that guide movement without pinching it. Guidance on organising home cables the right way treats cable routing as a system, which is a useful approach for desks that change position.
What a useful system should accomplish
A well-planned setup keeps the floor clear, leaves commonly used connections reachable, and gives you room to clean beneath the desk. It should also make inspection simple. If a monitor fails or a charger needs replacing, you should be able to follow its route and disconnect it without dismantling the whole bundle.
The visual result still matters, especially in a compact home office. A dense tangle makes the workstation feel harder to use and can hide a damaged connector. Concealment should follow routing, however. Pushing every cord behind the desk may hide the bundle while making access and troubleshooting harder.
Slack works like a small movement reserve. Too little pulls on plugs and ports; too much can loop into a footpath, wheel, or frame. Leave enough for the full height range, then secure the route so the spare length moves in a controlled loop rather than falling loose.
Practical rule: Manage cables for the desk you use, not the desk you photographed. Allow for movement, keep sections separated, and preserve access for future changes.
A hub, monitor, or accessory may be added later. Planning for that possibility now turns a future change into a small adjustment instead of a complete rebuild.
Assess Your Desk and Map Every Cable
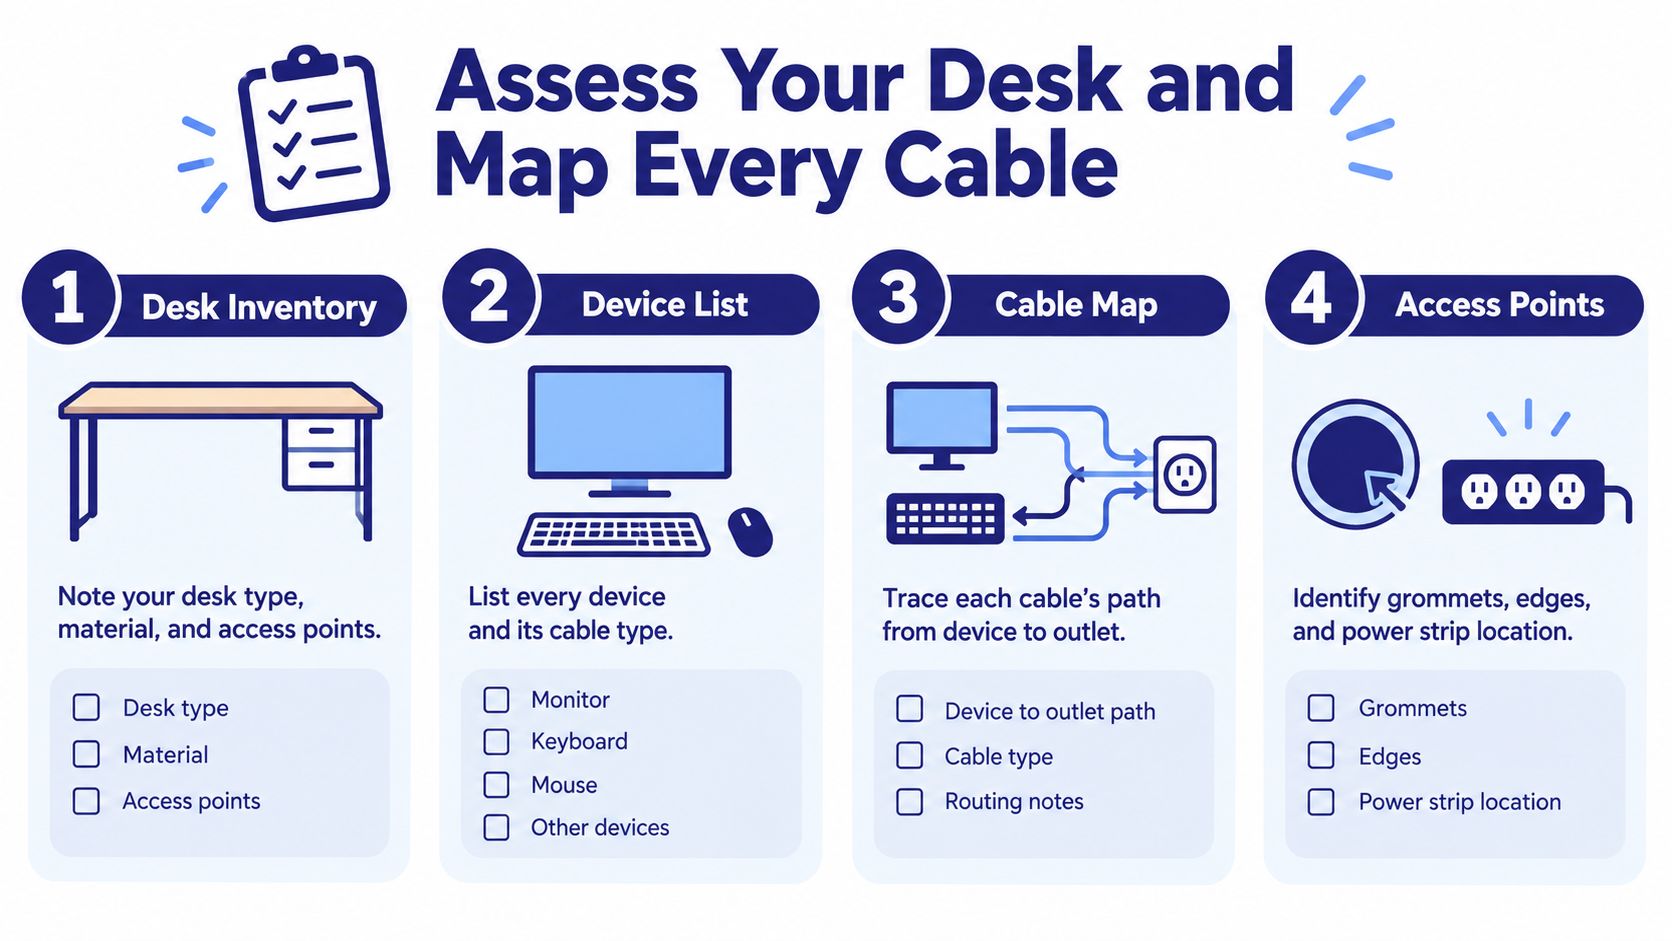
Before buying a tray or sleeve, make a cable inventory. Count the devices on the desk, identify where each one sits, and note whether its cable ends at the desktop, the desk frame, or the wall. This simple audit prevents a common mistake, buying a small organizer before understanding how many separate routes the workstation needs.
A typical laptop desk can involve 10–14 individual cables before consolidation, while a basic dual-monitor setup may reach around 12 cables or more (Eureka Ergonomic cable-management guide). The exact total depends on the equipment, but the practical lesson is consistent. A desk that looks like it has only a laptop and two screens may also have power, display, USB, audio, network, lighting, and charging connections.
Start with the furniture
Look underneath and behind the desk before you plan the route. Record the following:
- Desk construction: Note whether the top is solid wood, laminate, composite, glass, or another material. The surface affects whether drilling, adhesive mounting, or edge routing is appropriate.
- Movement: Identify whether the desk is fixed, adjustable, or attached to a moving monitor arm. Mark every component that changes position.
- Access points: Look for grommets, rear gaps, side openings, leg channels, and places where a tray or sleeve could start without blocking your knees.
- Power location: Find the wall receptacle and decide whether the power strip can sit under the desk instead of on the floor.
The best route usually follows the desk's structure. A cable that crosses open leg space creates more trouble than one that follows the rear edge or frame. Check clearance for your chair, feet, drawers, and storage before attaching anything.
Separate stationary and moving runs
Draw a basic map from the wall outlet to the desk, then from the power source to each device. Mark cables that stay with the room, such as the run from the wall to an under-desk power strip, separately from cables that rise and lower with the desktop.
This distinction determines where you need flexibility. Stationary runs can follow a controlled path along the wall or frame. Moving runs need slack, a service loop, or a flexible spine so the desk can travel without pulling on a connector.
A cable map also shows which cords should remain accessible. A laptop charger or phone lead may need to be within reach, while a monitor power cable can remain concealed after installation. If you're also considering storage, planning the route around a drawer can be useful. A guide to adding a drawer to your work desk offers helpful context for preserving legroom and access when furniture changes.
Choosing the Right Routing and Mounting Methods
No single organizer solves every desk problem. A tray is useful for bulky power equipment, but it doesn't automatically manage the vertical drop to the wall. A sleeve hides several cables together, but it can make one replacement cable harder to reach if you pack the bundle too tightly. Clips offer precise control, while channels create a more continuous path.
Use the desk material and movement pattern to narrow the choices. Adhesive clips can suit a rental or a lightweight fixed setup, but their holding strength depends on the surface and preparation. Screw-mounted clips or trays provide a more permanent attachment where the desk allows drilling. Glass tops usually call for non-drilling options and careful placement, while solid undersides offer more mounting flexibility.
Match the method to the job
| Method | Best For | Movement Friendly | Install Note |
|---|---|---|---|
| Under-desk tray | Power strips, adapters, and larger bundles | Moderate, when mounted to the moving desktop | Leave access for switches and plugs |
| J-channel or raceway | A defined route along the underside or rear edge | Limited to moderate | Useful when the path stays relatively straight |
| Fabric sleeve | Grouping cables that travel together | Good | Choose a flexible, reopenable design for changing devices |
| Adhesive clips | Light individual cables and renter-friendly routing | Moderate | Clean and dry the surface before mounting |
| Screw-mounted clips | Permanent routing on suitable desk materials | Good for fixed paths | Confirm the mounting point won't hit wiring or hardware |
| Grommet | Passing cables through the desktop | Moderate | Avoid forcing too many cords through one opening |
| Articulating spine | Vertical movement between the desk and floor | Good | It needs a clear path and room to flex |
Power and data deserve separate routes where practical. Keep the power bundle apart from display, USB, and network cables, and cross the paths at 90 degrees when they must intersect. This arrangement keeps the layout easier to inspect and reduces the temptation to compress every cable into one tight mass.
For unusual workstations or specialized environments, industrial 3D printed cable trays illustrate how tray design can be adapted to a specific routing need. You don't need a custom component for an ordinary home office, but the example reinforces an important principle: the tray should serve the cable path, not dictate it.
Fixed desks and moving desks need different priorities
A fixed desk favors neat, stable routing. You can use a rear channel, clips, or a tray with a relatively short path because the desktop won't change height. Keep commonly used charging leads accessible instead of burying them inside the main bundle.
A sit-stand desk needs flexibility first. A rigid channel may look clean while preventing the cables from following the desk's travel. Fabric sleeves, reusable hook-and-loop ties, and articulating spines are often more adaptable because you can open, reposition, or expand them as equipment changes.
Install and Route Cables for Safe Daily Use
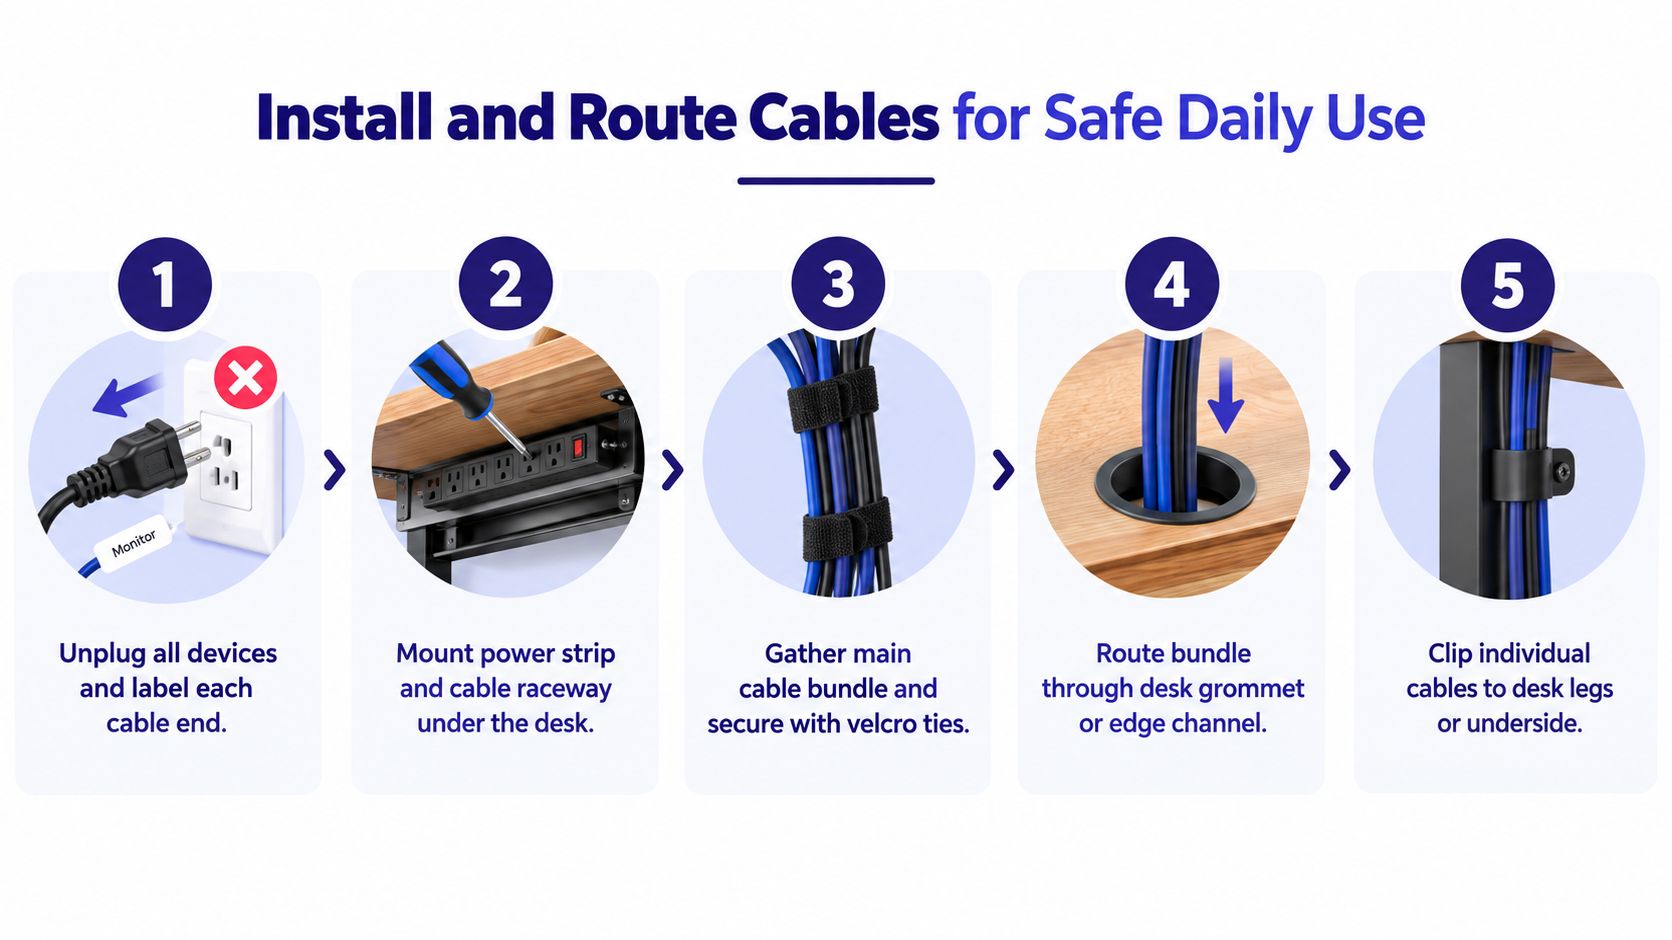
A sit-stand desk can look orderly at rest and still tug on a connector when it rises. Start with the desk disconnected. Unplug each device, keep every cable beside the equipment it serves, and label both ends before routing. Identical black cords are much easier to identify later when a label tells you their destination.
Follow the route in a deliberate order
Mount the power source first. Put the power strip in an under-desk tray or bracket instead of leaving it on the floor. The main connection point then stays clear of feet and gives every other cable a known starting point. Mounting the power source under the desk also helps control the bundle (Hexcal desk cable-management guide).
Separate stationary cables from moving cables. The wall-to-power-strip cord follows the room. Monitor, dock, and peripheral cables attached to the desktop follow the desk. Keep these groups distinct so raising the desktop does not pull against the wall connection.
Build the main bundle. Guide the moving cables through a sleeve or flexible spine. Secure the sleeve 2–3 inches from the rear edge of the desktop, then leave 4–6 inches of internal slack for the desk's travel (ErgoDesk cable-management guide). Slack works like a small hinge. It gives the cable room to change angle without transferring force to the plug.
Create serviceable curves. A service loop is reserved cable length that lets you disconnect or reposition equipment without stretching the run. Form a broad curve near a connector or pivot point. Avoid tight folds, which can become pinch points as the frame moves.
Secure individual leads. Reusable ties and clips should stop sagging while still allowing the cable to shift. Do not compress every lead into one rigid column. Keep frequently used charging cables near the front or side edge, and place rarely accessed connections inside the tray.
Verify power and movement
Connect relocatable power taps directly to a permanent wall receptacle. Do not connect one power tap to another. This arrangement follows the electrical-safety principle described in the desk-cabling guidance (TidySetup desk cable blueprint).
Reconnect the equipment, then move the desk from its lowest position to its highest. Watch the sleeve, spine, wall run, and frame clearance. A cable that catches on a leg, a loop that folds into a pinch point, or a plug that tightens early needs rerouting before daily use.
Before daily use: Move the desk through its complete range while watching every cable transition. A clean bundle at one height does not prove that the route is safe at another.
Support long runs at regular intervals, while preserving enough slack at connection points for service and movement. General installer practice often uses a reserve loop near computers or devices and closer support where a cable may sag. Adjust the spacing to suit the frame, cable stiffness, and actual travel rather than forcing every run into an identical pattern. This leaves the system easier to inspect and reduces rework when a monitor, dock, or charging device changes.
Configuration Examples for Common Desk Types
The right arrangement depends on what the desk has to support. A compact desk with one laptop needs access and simplicity. A dual-monitor station needs consolidation. A sit-stand workstation needs a moving cable path. A shared family desk needs identification and easy rearrangement.
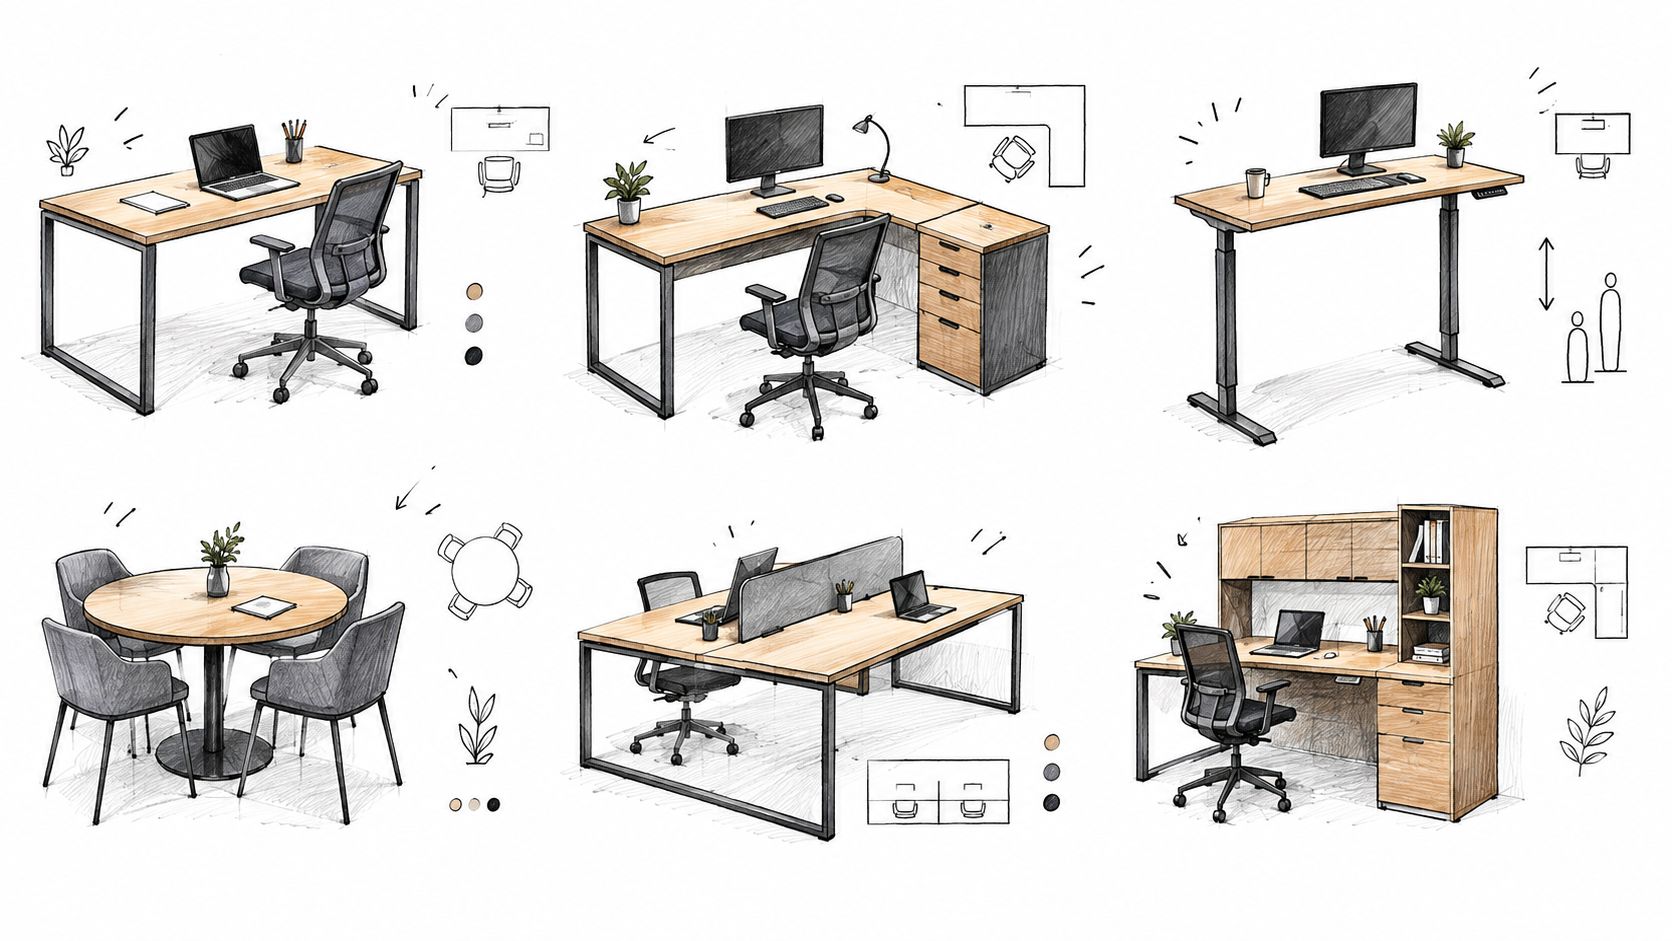
Compact laptop desk
Keep the power source under the rear portion of the desk and route the laptop charger through a small sleeve or rear channel. Leave the charging end accessible from the normal sitting position instead of hiding it behind the monitor or wall.
If the laptop connects to a USB-C hub, group the hub's fixed connections separately from the cable you regularly unplug. That makes it easier to remove the laptop without disturbing the monitor, keyboard, or network routes.
Dual-monitor home office
Place the power strip and larger adapters in a tray beneath the monitor zone. Group the display and USB cables by destination, then route the bundle toward the nearest rear edge rather than allowing separate cords to hang from each monitor.
Use grommets when they shorten the path without creating a crowded pinch point. If both monitors move on an arm, leave enough flexibility for repositioning the screens. The goal isn't to make every cable invisible. It's to prevent the monitor movement from transferring force to the ports.
A short visual demonstration can help you compare routing ideas with your own layout.
Sit-stand workstation
Treat the desktop as a moving platform. Attach the tray to the underside of the desktop, route the moving bundle through a flexible sleeve or articulating spine, and keep the stationary wall run independent. The service loop should sit where the cable changes direction, not where it will rub against a sharp frame edge.
One published checklist recommends at least 1.5 times the desk's vertical travel distance in free cable length and a 20–30 cm service loop at each connection point, along with testing the complete range of motion (Eureka Ergonomic standing-desk safety checklist). Treat that as a planning rule, then inspect the actual route because cable stiffness and frame geometry vary.
Shared family desk
Choose labels that identify both the device and the user, especially when several chargers look alike. Keep frequently swapped connections in an accessible clip or open sleeve, and avoid adhesive mounting in areas where children may pull on a cable.
A shared station benefits from modular organization. Use reusable ties instead of permanent fasteners around cables likely to change, and leave a clear path for adding a headset, lamp, or charging hub without opening the entire main bundle.
Keep Cables Labeled Concealed and Easy to Maintain
A cable system stays useful only if you can understand it after installation. Label both ends of each cord with a short description such as “left monitor power,” “dock to laptop,” or “desk power to wall.” Put the label close enough to the connector to read without removing the cable from its route.
Conceal the final run only after testing. A sleeve, raceway, or under-desk cover can give the setup a finished appearance, but it shouldn't trap a connection that you may need to replace. Leave openings where adapters, switches, and frequently used charging leads need attention.
Build maintenance into the layout
Inspect the bundle when you clean the desk or add equipment. Look for flattened sections, sharp bends, loose clips, and cables resting against moving hardware. If you add a monitor, hub, lamp, or charger, test the desk through its full movement again instead of assuming the existing slack will cover the new route.
Avoid treating every cable as one identical bundle. High-wattage power cables shouldn't be packed tightly with every data and charging lead, especially when the tray has limited ventilation. Cable management organizes a workstation, but it doesn't replace sound electrical practices or correct a damaged cord.
A modular setup makes future changes easier. Use reusable ties, choose sleeves that can open, and keep a small amount of accessible slack near connections. That way, replacing a USB-C hub or moving a monitor doesn't require dismantling the entire underside of the desk.
Serviceability matters: The cleanest cable is the one you can identify, reach, and replace without disturbing everything around it.
If your desk choice is still part of the problem, look for furniture with built-in cord paths, desktop slots, or under-desk routing space. Woodstock Furniture & Mattress Outlet offers home-office desks and related furniture that can be evaluated for those practical features, along with storage options that help keep the workspace organized. Hands-on advice can be useful when you're balancing desk size, movement, equipment, and room layout.
If you're planning a home office in North Georgia, visit Woodstock Furniture & Mattress Outlet to explore desks, storage, and office furniture with cable-routing needs in mind. Bring your room measurements and device list, and the team can help you compare layouts and features for a setup that stays accessible as your work changes.